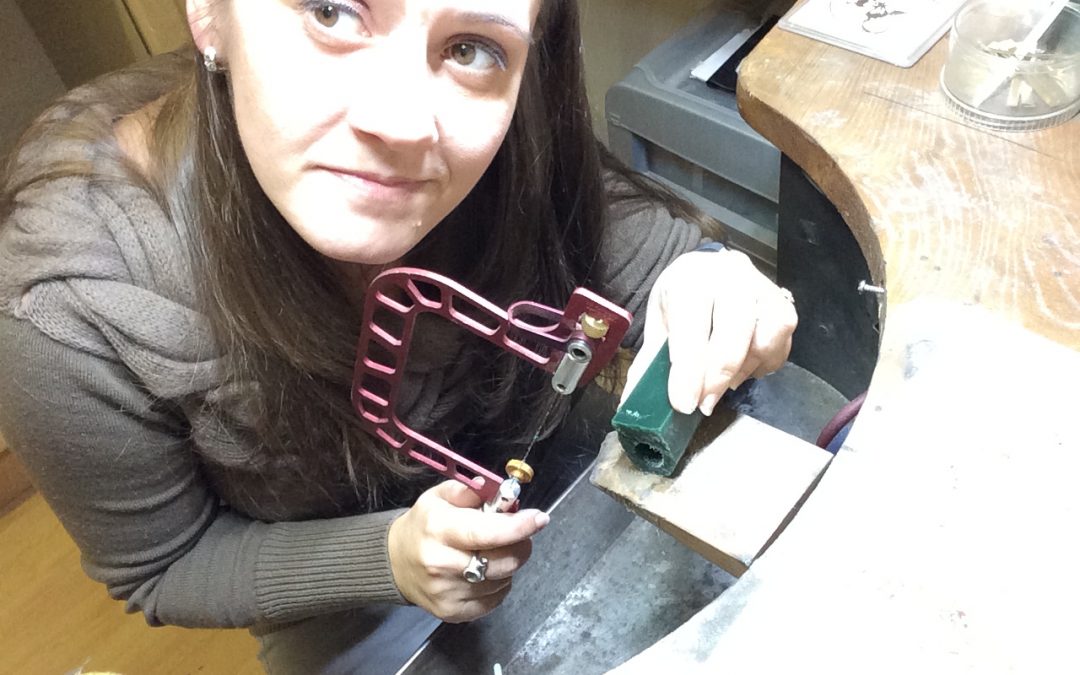
A little Black Friday Fun
|
|
|

|
|
|
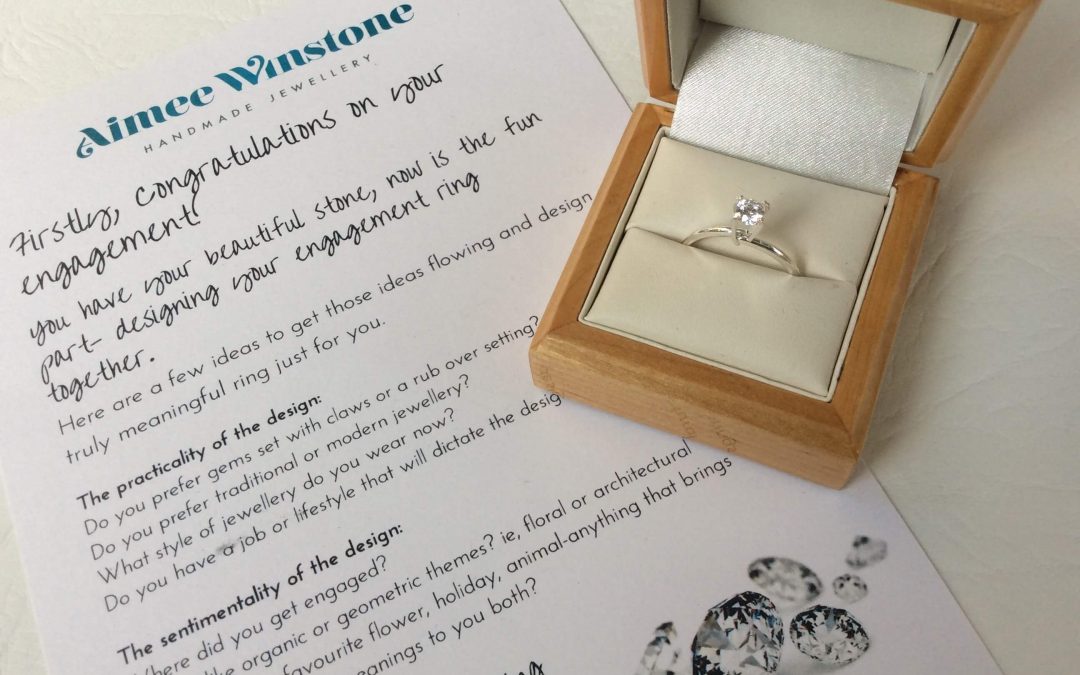
And you’re a little terrified! yep, is this you?
I totally get it, You’re about to buy possibly the most expensive gift you’ll ever get and you have no idea what she would really love and treasure. This is the engagement ring she has been dreaming about for years. Worried you’re going to choose a design that your partner doesn’t like?
I see so many of you that really want to put so much thought into the design, creating a ring that suits your partner’s personality and style. You really want her to love it!
Does your partner like to be original, maybe a little unconventional. Worried you’re going to have to settle for something that really isn’t to their taste? Well, I have found a solution!
Honestly, I have been looking for these little rings for years and I’ve finally found them. Rings that you can hold a stone in temporarily, just long enough for you to propose. Then you can design the engagement ring together.
Choose the stone from me that you would like (and you think your partner would like too), it doesn’t have to be a diamond either, a striking colourful gemstone instead would look fantastic. It will be presented in a quality ring box for you to propose. You can both have the fun of working with me to design your perfect ring together! It will even come with a sheet helping you decide on a style and theme you would like your engagement ring to follow.
Maybe your proposal would spark some theme ideas or their favourite flower, these are just two examples. I’ve even designed engagement rings with a star theme, for a proposal under the stars. It’s a lot of fun during the design process and a fantastic way of having both your ideas incorporated into the final ring. It also makes a fantastic story to tell and a perfect heirloom to leave future generations.
Maybe you would like to read How To Sneak Your Engagement Ring Abroad & Propose or take a look at some of my previous custom made commissions for some ideas.
Want to talk more about how I can help you with this dream? Send me a message, I would love to hear from you

If there is one reason why I love my job it’s being able to talk to people (I do love to talk).
There are so many ways I can help you design your wedding jewellery that’s truly designed just for you and I really do find this quite exciting. On this occasion, I’m looking forward to meeting you at The Wedding Showcase in the Bath & West Showground on the 23rd-24th September.
So, In a little less than 2 weeks time, this will be my first wedding fair for 7 years! I will be talking about my bespoke wedding ring processes, showing how my designs evolve into the finished pieces with lots of wedding ring designs as inspiration and I’ll also be talking about my new jewellery making workshops, I can’t wait.
For everyone who visits the show, I have made some exciting give aways for the brides-to-be.

Every visitor will receive a goodie bag and inside you will find my competition to win a 2-day jewellery workshop The winner can choose to make yours or your partner’s wedding ring, a gift for the mother of the bride or give the voucher to your maid of honour – the choice is yours.

6 lucky guests at the show will receive a VIP Swag Bag. If you are lucky enough to be a VIP you will find a trillion cut blue topaz gem stone as a “something blue” gift from me.
You can use the gem for a workshop, as a commission or simply as a lucky charm.
If you are planning your wedding in the Southwest and looking for inspiration, The Wedding Showcase will be just the place to visit. Grab for tickets here. I’m looking forward to meeting you and answering all of your jewellery related questions.
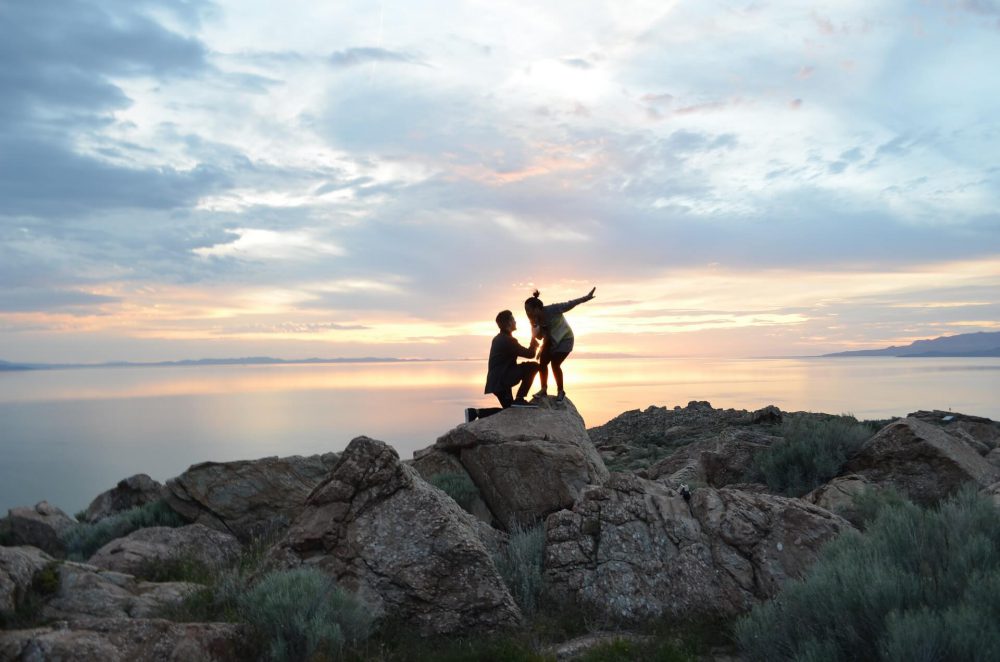
So, you’ve been planning your proposal for months, it’ll be abroad whilst on holiday. You have the perfect scenario of how you will pop the big question, what you will say. Maybe it will be at a meal or on a sunset beach walk. Everything will be perfect!
Whilst collecting your engagement ring you’re getting a bit nervous; it’s getting real now. On seeing the ring; is it what you hoped and asked for? more importantly, will she love it as much as you hope she will!
And the next big panic!!! How to sneak your engagement ring abroad & propose. Have you planned how you are going to safely pack the ring away, hidden for the journey before you propose?
One of my clients on his final collection happily told me his plans of travelling Australia and half way through his 3-week trip whilst in the outback would propose under the stars. How perfect is that? He hadn’t however thought about how he would get the engagement ring to Australia unnoticed by his very observant and slightly nosy girlfriend.
Hearing afterwards the story of their travels to and around Australia really made me laugh.
After my advice to carry the engagement ring in his hand luggage and not in the hold, he sought the best place; unsuspecting, discreet and secure whilst in his bag. Bearing in mind he was visiting one of the hottest places in the world what better places the ring can go than inside a woolly hat?!?!? No one will question this, particularly his girlfriend surely?
So off they went to the airport with his engagement ring safely hidden away. Heading towards the security checkpoint with a slight panic, he managed to get the attention of a member of staff and told them that he has a surprise engagement ring in his hand luggage and if he was to be searched if they could be discreet. The member of staff was really helpful, sympathised and said she would keep an eye out. Confidently, off he went through the x-ray machine “BEEP”, his helpful member of staff was nowhere to be seen!
Trying to keep his woolly hat under wraps whilst having his bag searched he was feeling a little flustered. Luckily his girlfriend had decided to wait further on and all was well. He had however lost his passport and almost missed his connection flight to Australia, his girlfriend unbeknown of his stressful situation was not happy!

Thinking afterwards there were many strange things she thought were a little odd on their travels but the proposal was a successful perfect and happy surprise, just as planned.
Make your journey a little less stressful by following these tips to keep your secret and your ring safe.
I see many questions being asked about photographing and editing jewellery, how to get that clean white background. I’m going to describe how I edit my jewellery photographs using Photoshop. As a cheaper option, Photoshop Elements will also do the same job and I’m sure there are other free programs online.
I use a light tent and LOTS of lights, as much light as I can get, there is also an A3 light box underneath the acrylic tent although I don’t use this often. You can find cheap light boxes online or even make your own. There are cheaper smaller lights to buy online but make sure they offer constant light rather than flash lighting.
I use a DSLR camera with a macro lens on F22 whilst using a tripod and testing the light balance often.
Once you have taken your photograph and opened it in Photoshop it will look fairly similar to the photo above; a little bit dull. Either press CTRL + L or Image: Adjustments: Levels to reveal the levels tab. Click on the Set White Point button shown above, then click on the background you would like to be white. Click in several places until you are happy enough with the result. Then press OK.
You will find you will get a good white background like above.
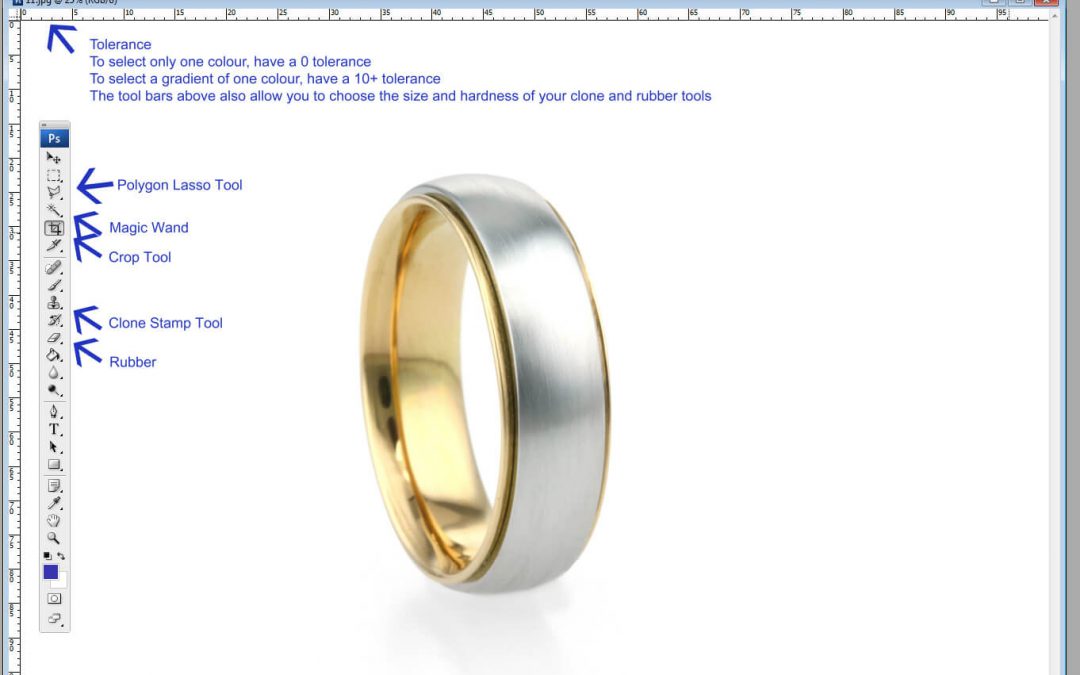
Using the wand button as shown, click the background. With the tolerance set to 10 you will be able to select most of the white background. You may need to press the shift button whilst clicking different areas of the background to select more.
The tolerance setting at the top of the screen controls the amount of one colour you can select. For example, a tolerance set to 0 will only select a very precise colour that you have selected, if the whole of the background was pure white you would be able to select it all. A tolerance set to 10 will select more shades of the same colour, in this case, white, it will also pick some of the shadows.
You will find there are areas you cannot select with the wand tool. Using the lasso tool (pressing shift on the first click) you can carry on clicking around areas you want to select. You may need to zoom in close to draw around some areas well.
Once you have your nice selection you need to smooth the line using the smooth tool from the toolbars shown above. I would choose a value of around 2.
Then use the Feather tool, this fades the selection you have made and helps to avoid any obvious errors you have made. I would choose a value of around 2.
Now you will have a nice selection of the whole background. You can use the erasure tool to remove any dirt in the background.
You can change the erasure settings using the toolbars at the top of the page.
For the areas that are not white, you can use the clone tool. Whilst pressing the ALT button to select an area close to the area you want to correct (in this case I am removing the white-tac) and then click on the area you are correcting. It clones the area you pre-selected and places it over the white tac. Make sure you use a fluffy brush of the right size and a low opacity using the top toolbar. Go slowly and you will get a better result.
You may like to edit the actual ring as well as the background. Press select: inverse, you have now inverted the selection and can work on the ring without editing the background. You may want to use the clone tool for instance to remove fingerprints. Once you are happy with your background as well as the jewellery you can save your photograph.
For good practice, I save several versions of the same image for different purposes. I save 1 image as a TIFF file, this will be your master image and the largest file. I then save 1 image as a jpeg, you can then open the image in TinyPNG to give you an optimisedized image that will not slow down your website.
The above image shows all of the tools I have used in Photoshop and below shows you the final result. Silver needs MUCH MORE editing. It is so reflective that simply changing the levels at the beginning bleaches out the jewellery. I very carefully draw around the jewellery using a combination of the wand and lasso tool, this can take some time. I will also use LAYERS to save different stages separately BEFORE changing the levels of the background. I have even been known to rhodium plate pieces so It’s easier to photograph!
It’s not necessary to have the same equipment as me but this is what I use:
Canon DS100D
Sigma 105mm f/2.8 EX DG OS HSM Macro (Nikon AF)
Calumet Cocoon 70 – MediumCalumet Light Box (A3)
Interfit F5 2-Head Fluorescent Lighting Kit
I hope this helps, happy editing!
Recent Comments